Sometimes you need to have custom image sizes in wordpress media uploader.
You usually need it when your theme doesn’t have inbuilt support for automatic image re-size. You might also need this feature if you are planning to create any product specific landing page or review page.
For this feature you will have to add support for custom image sizes in wordpress theme’s function.php file. This will override the basic image sizes which comes in-built with every wordpress setup. This feature is also used by almost every related post plugins which have option to display thumbnails.
Steps To Add Custom Image Sizes In WordPress
Here I am sharing two code snippets which you need to place in your theme’s function file. If you are using any theme framework then don’t add this function to parent theme but add it to the child theme.
Its also necessary to check if your theme is already using this feature or not. Since if it is using it and if you again repeat the same function, it will make your website go down temporarily ( unless you undo the changes ).
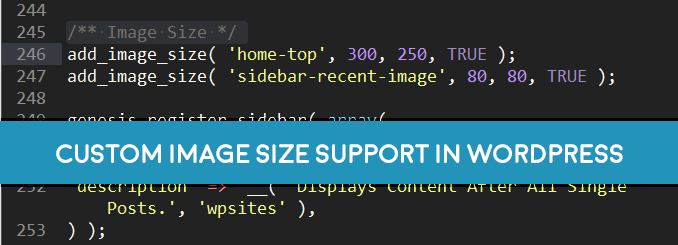
Step 1: Now copy the exact codes from below and paste it in your theme’s function.php file. You can edit the numerical values as per your need. I have just shared some basic values which can help you with multiple plugins and other basic themes.
function custom_image_sizes() {
  add_theme_support('post-thumbnails');
	add_image_size('sidebar-featured-image', 300, 100, true);
	add_image_size('post-thumbnail', 100, 100, true);
	add_image_size('related-post', 80, 80, false);
        add_image_size('landing-page-banner', 1024, 100, false);
} add_action('after_setup_theme', 'custom_image_sizes');
Step 1: Now in order to enable the options in your media uploader you will have to copy and paste the code snippet I am sharing below.
function add_custom_sizes( $imageSizes ) {
  $my_sizes = array(
		'banner' => 'Banner'
	);
	return array_merge( $imageSizes, $my_sizes );
}
add_filter( 'image_size_names_choose', 'add_custom_sizes' );
After adding these code snippets, just reload the media manager in WordPress and start uploading new images. All newly uploaded images will be cropped according to the sizes defined in the PHP function.
In order to resize the previously uploaded pictures, you can install ajax thumbnail rebuild plugin. I will suggest not to add too many image sizes especially if you are hosting your site on dedicated server or virtual private server because they also charge for extra storage.
Leave a Reply