
Can you answer this simple question?
According to you which is the most important design element on your website?
If your answer is the Logo then you are absolutely correct. But the only problem is that creating a professional looking, brand matching logo is not an easy task.
If you plan to hire a professional graphic designer then be ready to spend at least $30 to $500 for every single piece of graphic design.
If you are planning to create your own logo by yourself, well, best of luck. As much as I can tell you, it requires a great level of creativity, experience, and skills to understand the complexity of color schemes, styles and brand requirements.
A logo is way more than just Typography or icons, it’s all about your brand presence and first impression.
So now the question is, how to create a professional logo without spending way too much money?
Well, the answer is very simple, use an online Logo Maker.
Most of them are free but then they offer only a limited set of icons and typography options. Those online tools which require you to subscribe to their monthly or per logo subscription plan will definitely offer more premium icons and design options.
Contents
Wix Logo Maker
Today in this content piece, I will show you how to use one of such online tool called Wix Logo Maker. This logo generator is 100% free to use and you can generate and download unlimited variations of graphics without any sort of limitations.
This logo-generating tool offers different packages, ranging from a completely free sample to a professional logo and free website package. Therefore, even though it is completely free to create and use your own logo with this tool, you also have the option to unlock advanced options such as high-res vector files by purchasing one of the paid packages. Downloading a free sample will be good for basic use, but more advanced users may want to consider going for one of the paid packages, ranging from about $12 to $99. In each of these plans, all logo files will be completely yours including all commercial usage rights.
Step 1: Sign up for free
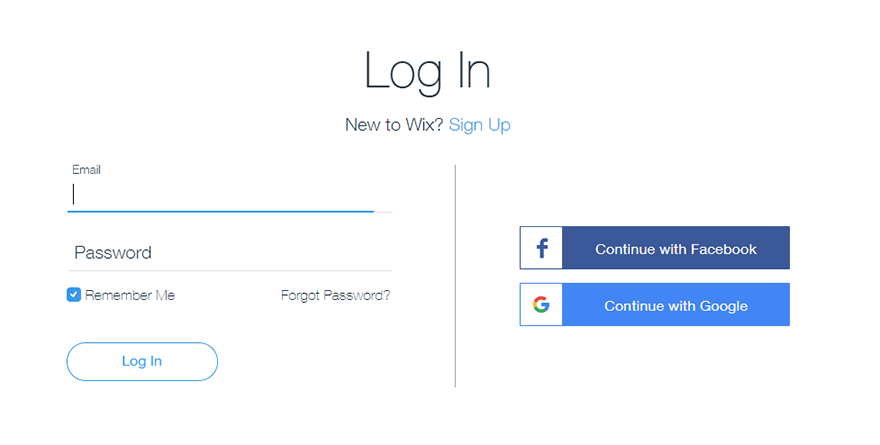
You can either join using your email address or you can join using Facebook or Google account.
Step 2: Enter your website or business name
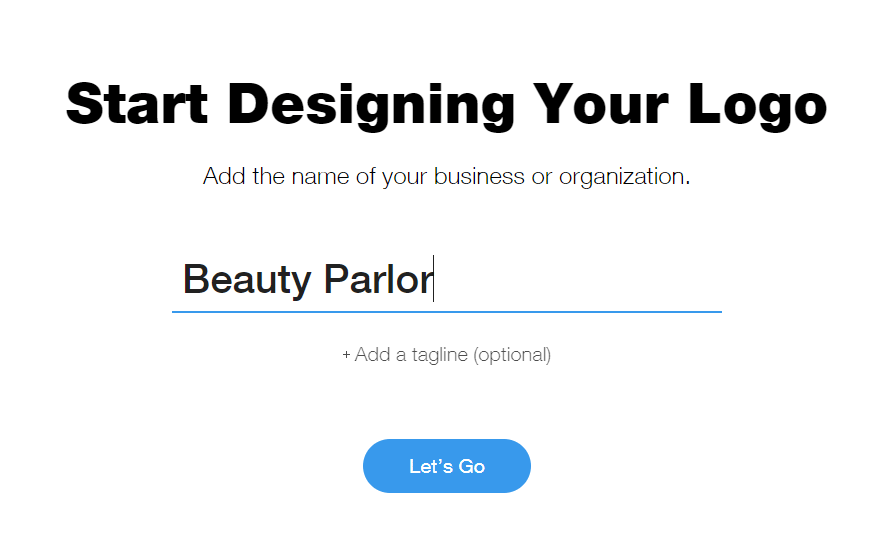
After signup, you will be automatically taken to logo maker page. Your very first step over here is to enter your business name. Remember that the character cannot exceed 50. If your business name is very long then I will suggest to only use the first or first two words.
So for example, if my business would have been related to technology, I would have selected “Modern”, “Techy”, “Fresh”.
Furthermore, you are also given the option to add the business slogan. If you have already decided your tagline then you can also add it in the appropriate field. Again try to keep your tagline small and meaningful. Shorter taglines tend to look better in logo design when compared to bigger ones.
Step 3: Choose your business niche
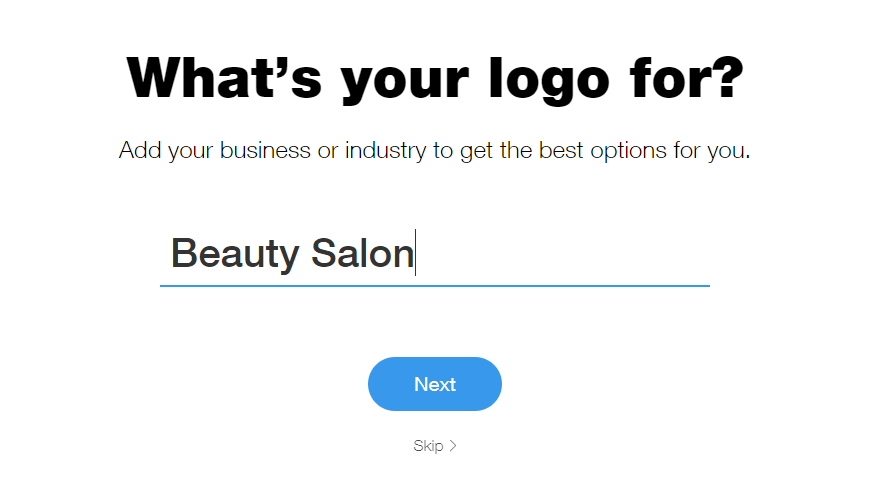
Now you are required to enter the niche which is closely related to your business. For the sake of this tutorial I have chosen the brand name as “Beauty Parlor” and so my closely related niche is “Beauty Salon”. Similarly, if you are planning to start a technology website or online gadget shop then “Tech” or “Shop” will be the most suitable niche for you.
Remember niche selection is used to find the icons. So choose wisely.
Step 4: Choose your logo design type
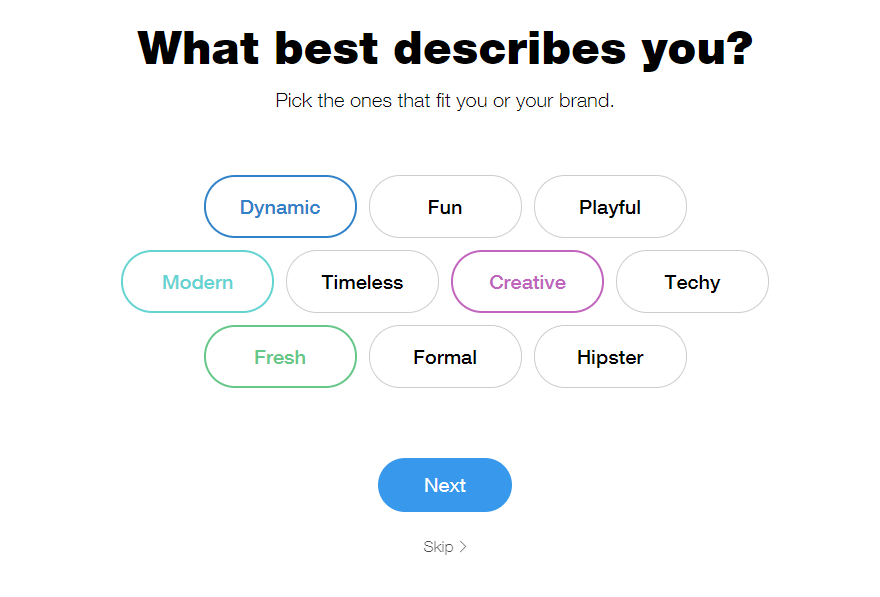
In order to generate the logo with the Wix logo creator, you are required to choose the type of design which describes your brand in the best way. For this tutorial I am selecting “Dynamic”, “Fun”, “Playful”, “Modern” and “Creative”.
Step 5: Like and Dislike
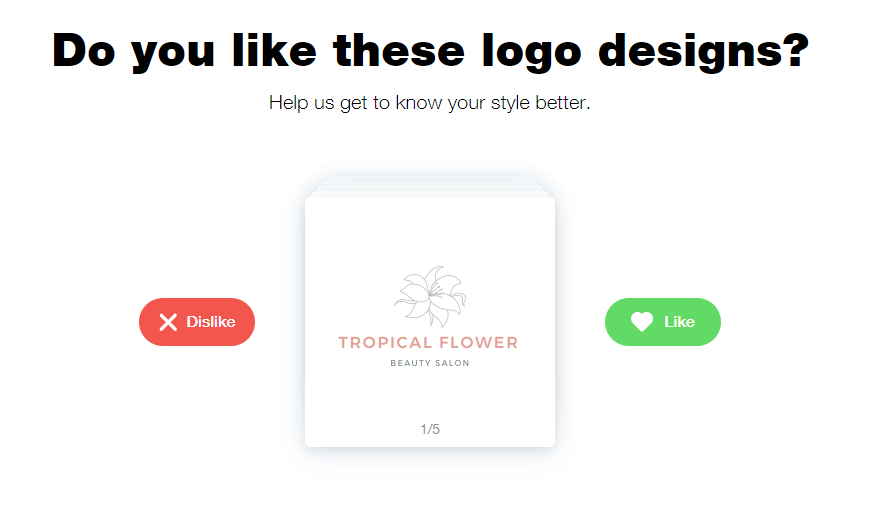
Based on your design term selection you will be provided with 5 different design options. You have to click on dislike button if you don’t like the design and like button if you loved it. Based on your selection your logo will be generated in the very next step.
Step 6: Download or edit your logo
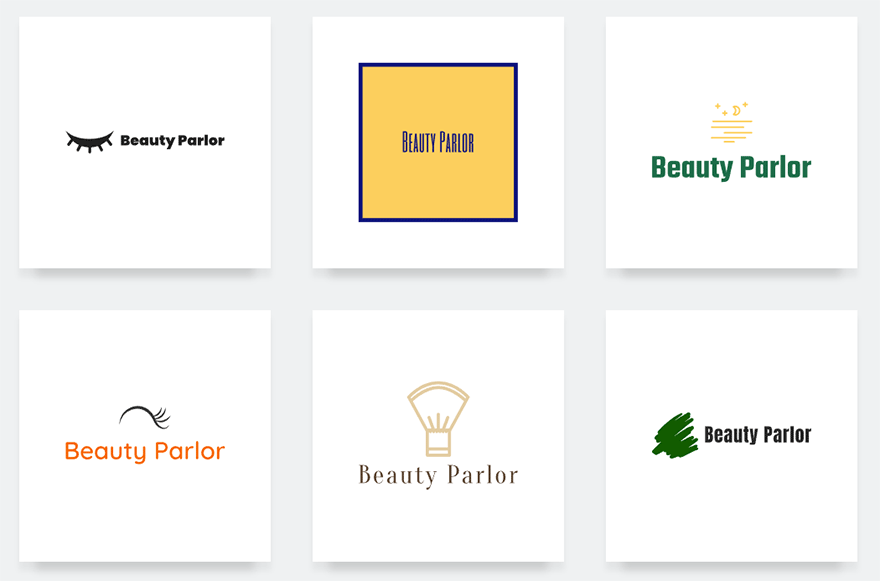
Now you can see various different variations of the logo generated for you based on your design selections and your brand name.
If you don’t like the icon then just click on the “Change Icon” button. After clicking on that button a new popup will appear with a search field. You can use this search field to choose the best icon from literally thousands of icons.
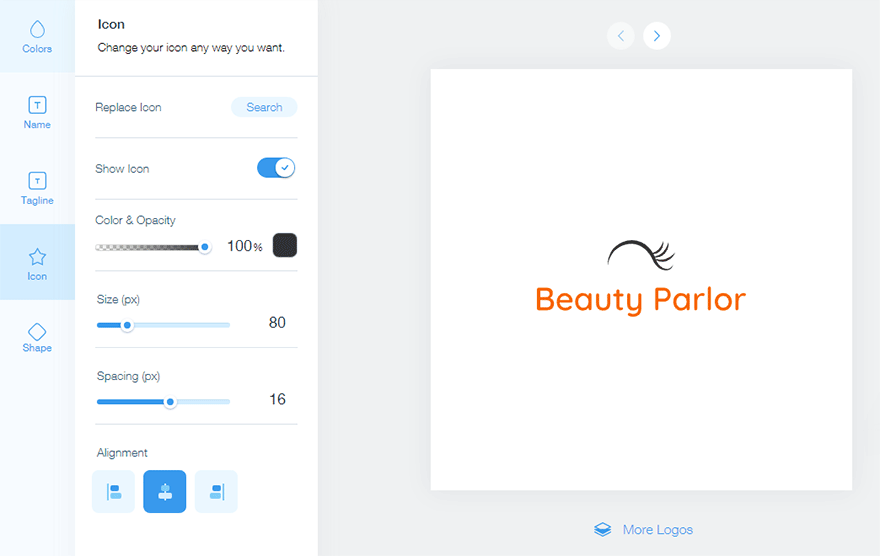
Once you have chosen your logo, put your cursor on it and then click on edit button. Now you will be taken to an actual graphics editor where you will be able to change typography, colors, transparency, icons, shapes, alignment and tagline.
Furthermore, various logo mockups will be generated dynamically for you showing you how your logo will look on a shopping bag, business card, website login page and on mobile devices.
If you completely don’t like the logos generated for you, then you can restart from the first step and can continue until you find the logo which meets your expectations and matches your brand’s requirements.
Conclusion
Overall Wix Logo Maker is a simple yet powerful tool which allows you to generate a whole set of professional looking logo designs literally within 2-3 minutes. What’s even more impressive is that you can use this tool to generate unlimited design variations. Moreover, you also get access to advanced editing tools which further assists you to customize your logo design.

Although a lot to learn from these experiences and a logo also serves as an eye capturing the moments at first that describes the half of the theme of your product but there is a lot more to describe. We are also designing logos at very reasonable price you can also check our logo design packages.
Can I add my Own transparent Icon a .png