Today in this guide we will discuss various types of errors which you as a WordPress user might have already encountered or might encounter in the coming future. Don’t you worry, we will also discuss various methods to help you easily counter and fix these errors.
Error 403 on WordPress
The only reason for this error is improper file permission settings. If you are encountering this issue while opening your site’s administration panel or while installing any theme or plugin, then most probably the file or folder permission of that file or directory has been altered.
Now the question is who would have changed the file permission settings?
Well there are three different possibilities and they are:
1st possibility is that someone has gained access to your server login details. You can use haveibeenpwned to find if your email and password have been leaked online. If you are pwned then the only option you have is to change the server root password.
The 2nd possibility is that you have some sort of Security plugin installed on your site and it has restricted access to certain file or directory and that’s why you are unable to access them. Go ahead and review your settings and if you are in doubt don’t feel ashamed to ask for the support on either plugin’s official support forum or WordPress community support forum.
The 3rd possibility is that your .htaccess file is corrupt. You might have installed an extension which accesses and make changes to your .htaccess file and somehow in that course, this file got corrupted. Well, this is very unlikely to happen and so I will suggest to better focus on 1st and 2nd.
So, we now know all sort of possible reason for error 403 but what’s the solution to fix it.
Solution 1: Change your site’s and server’s login details
If you are on shared hosting, then make sure to change your registered email address and password. If you host your site on a VPS or dedicated server then we suggest to change the server root password and restrict access to your server root IP only to your IP.
Then use the following command to change the permission respective directory.
chmod -R 755 /htdocs/sites/yourwebsitename.com/wp-content/themes
You can then use chmod –R 644 for files.
chmod -R 644 /htdocs/sites/yourwebsitename.com/wp-content/themes
Solution 2: Test your active plugins one by one
There’s a good chance that this 403 issue might be occurring because of an extension installed on your site. But the only problem is that you don’t know which one is causing the problem.
So the only solution is to manually disable every plugin one by one and parallel check your site for accessibility.
Solution 3: Create a new .htaccess file
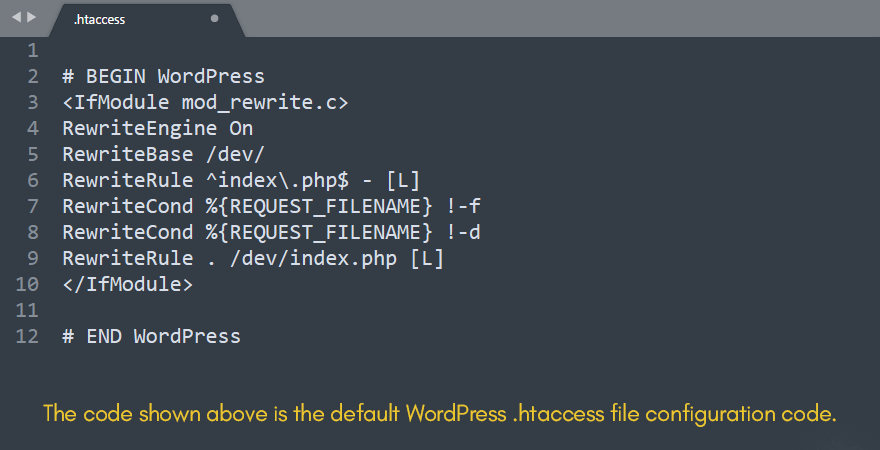
The .htaccess file is really important for Apache-based servers ( Nginx servers will ignore the settings made in this file ). If the first two solutions didn’t work for you, then you will first need to delete and then create an empty .htaccess file.
All the configurations related to SSL, Cache and data compression will be automatically reapplied by your plugins without any issue.
Furthermore, you might also want to check detailed, beginner-friendly guide at 000webhost.com on how to solve WordPress error 403.
500 Internal Server Error on WordPress
This is one of the most common types of error encountered by any WordPress user. If this error occurs then your website will be inaccessible to you and all your visitors unless you find and fix all related issues.
Reason 1: You messed up your theme’s code
There are few times when you are making changes to your theme’s functions.php file and after clicking on the save button as soon as you try to reload your website you get this 500 internal server error. Well, respected sir/mam, you have just messed up your theme’s code.
It quite common to miss a closing bracket or ending comma while writing any PHP code. Well it might sound like a small mistake but it has severe consequences like; your website will be inaccessible unless you fix the code.
Solution:
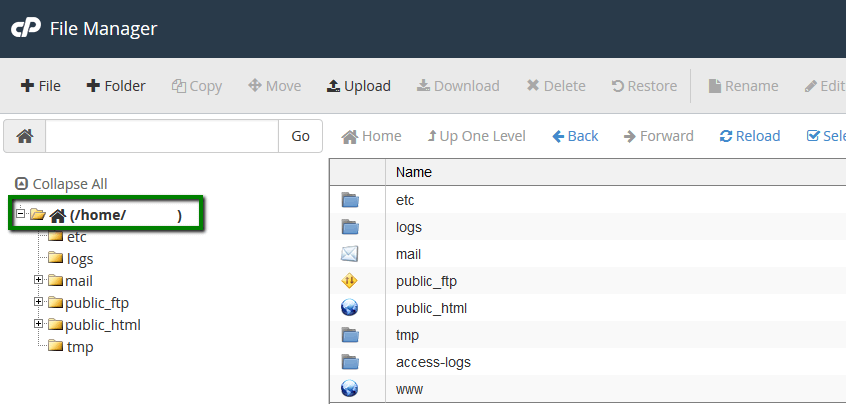
If you are on shared hosting then login to your hosting account and open up your online file manager.
Now navigate to /public_html/wp-content/themes/your-theme-name/
Now open the theme’s functions.php file using the online code editor. Alternatively you can download that file locally on your system to edit it.
Once you have either opened your file online or locally, revert back the changes you made or correct the mistakes.
Once you are sure about the changes click on the save changes button if you are editing the file online.
If you are editing the file locally, then first delete this file from your server and then re-upload this file to exactly the same location where it was before you deleted it.
Now try to access your website. the If the issue is resolved, great. If not then continue reading.
Reason 2: You installed and activated an old/not-supported plugin
There are few times when you need a specific functionality on your site but unfortunately its only available in an old (not updated for years ) plugin. So to try it out you install it and then activate it only to find 500 internal server error all over your site.
Solution:
In simplest, one line statement, you need to get rid of that extension.
So go back to your hosting panel and open your online file manager. Now navigate to the following path /public_html/wp-content/plugins/
Once you are in this directory you will be able to see all the plugins you have installed (activate or inactive) on your website. Now file the one which you believe is the culprit and delete it.
It will take a while and once the task is completed all you need to do is to reload your website. Most probably your site will be working fine, just like before.
Reason 3: PHP Memory limit
There are few times when your server configuration may cause this error to occur on your site.
By default, a maximum of 64MB is allocated for every process to execute. Since most of the time your themes or plugins don’t do any complex task and so they don’t even exceed the 50% usages of the allocated RAM usage.
Solution:
If you believe that you have installed any complex theme or plugins like on-server image compression, security, search engine optimization, e-commerce then you will find that 64MB is actually way too low.
In that case, you will need to increase the default memory allocation and to do so you will need to follow the steps listed below.
- Login to your hosting panel.
- Now locate and click on online file manager icon.
- Open notepad on your system (locally) and add the following code to it: memory=128MB
- Save the file as php.ini.
- Navigate to following directory (/public_html/wp-admin) using your online file manager.
- Upload the php.ini file you just created in this directory.
If the above steps didn’t work for you then you might have to edit your WordPress configuration file.

- With the help of your online file manager move to the following path: /public_html.
- Over here you will be able to see a file named wp-config.php.
- Use online code editor or edit this file and then add the following lines of code: define(‘WP_MEMORY_LIMIT’, ‘256M’);
- Click on save button and try to reload your website, it should be working fine without any issues.
We believe this guide will surely be of great help if you are noticing error 403 or 500 Internal Server Error in WordPress. If you feel that this guide was helpful to you then please don’t forget to share it with your friends and your social community.
The first thing you will have to do is check your .htaccess file to see if W3 Total Cache has added its .htaccess rules to the end of an existing line. So for example, you may consult with fix epson error code 0xf4 for more information regarding this error.