I love playing with wordpress. I spend hours daily in front of my laptop working on sublime text and shell; customizing and installing wordpress on digitalocean using easyengine or serverpilot.
Now you might think what’s the need for the shell? Well, I am quite confident that you will not like my answer to this question.
WordPress is a fantastic blogging platform, but it is not properly optimized for performance. It is cluttered and doesn’t function well with basic server configuration. So if you are planning to scale your daily website visitors to 10,000 and even more, but you still have your site hosted on some shared hosting ( like Bluehost, fatcow, etc. ) then best of luck.
But if you are using any premium managed wordpress hosting like wpengine or mediatemple, then I will say you are spending way too much money.
So now the question is, do you want to save your money while giving your website the same performance boost?
Well, if your is yes then keep reading this guide and follow the steps one by one, correctly. And I will show you how to future proof your website in just $10 p/m.
Sorry, forget to answer the question. We need shell or console in order to update the server with security patches. We also need the shell for installation of cms like wordpress and for installing python and for performing various server side tasks.
Contents
What is Digital Ocean?

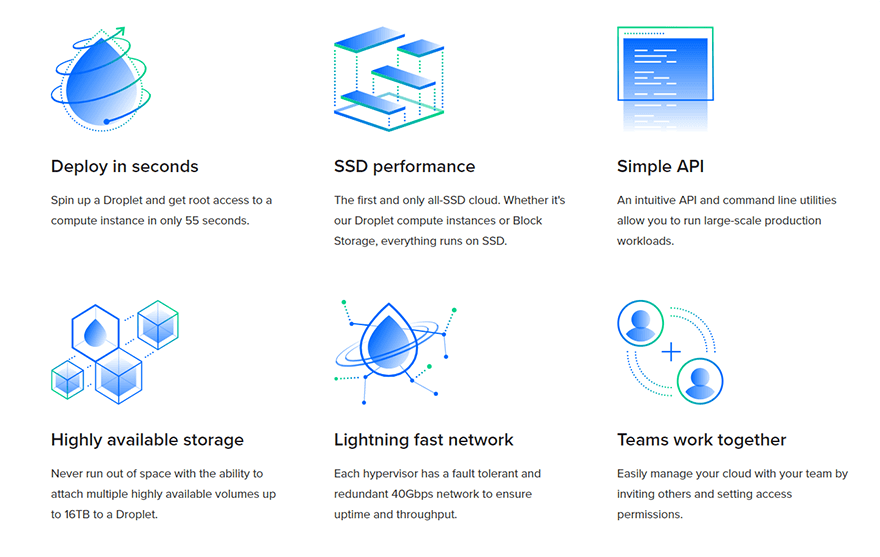
Digitalocean is a modern cloud infrastructure provider. They provide easy to manage virtual private servers at relatively lower price than most of the premium hosting companies. Each VPS which you deploy on DigitalOcean is called Droplet.
The biggest advantage of using digitalocean is that they have 100% SSD powered servers. That means without doing any changes to your current website configuration; your site will run 10 to 50% faster (considering the read and write speed of SSD). You can read about the difference between SSD and HDD speed and performance on Dell’s site.
There is much more reason why developers, designers, and professional bloggers love digitalocean over other conventional hosting services.
What is EasyEngine?

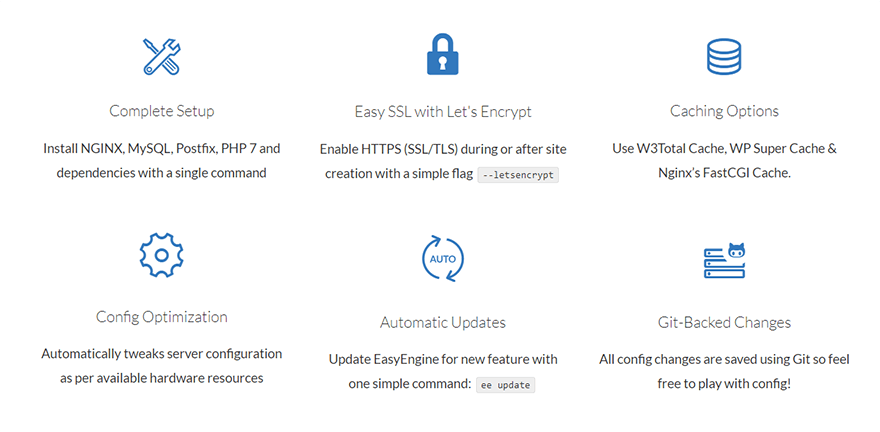
EasyEngine is basically a collection of some powerful and efficient python scripts which help to automate the wordpress installation. Instead of using Apache as the web server it uses Nginx which offers far better performance. Furthermore, you can enable FastCGI or Redis cache by just adding few extra parameters to the installation command.
For example, let’s say you want to install wordpress which has support for Nginx FastCGI cache, then you would use this command:
ee site create yoursitename.com –wpfc
Similarly, if you needed a multisite with subdomain support and Redis cache you would use the command provided below:
ee site create yoursitename.com –wpsubdom –wpredis
Easyengine is open source and has lots of commands which you can use to customize your basic wp deployment. Like by just adding –hhvm=on you can enable hip hop virtual machine ( developed and used by Facebook and most of the world’s heavily trafficked websites ).
Overall, you can create your own self-managed, powerful, robust, scalable and performance optimized wordpress website. The performance will be similar or even better to what you get on WPEngine which charges you almost 10X for the same configuration.
Install WordPress on DigitalOcean With Easyengine in 4 Steps

If you have searched for this tutorial, then I assume that you already know how to create droplets. I am also assuming that you have already pointed your domain name to your newly created server.
In case you need the tutorial for setting up a new VPS, then please read this guide on how to install wordpress on digitalocean in 5 minutes.
Step 1: Open Up Your Console or Putty
You must log in as root, or you won’t be able to install easyengine on your server. After successful login, type the command provided below in your console.
wget -qO ee rt.cx/ee && sudo bash ee
Now, wait for few seconds as easyengine is now being downloaded on your server and it is being configured. Just before the final installation, you will be asked to enter the name and email address. After entering the details just press enter, and you are all set to move to next step.
Step 2: Configure WordPress Installation
Now you just need to put one line of code to complete the wp installation. You wp-admin login details will be shown on the terminal after the installation will be complete.
Copy the code and paste it into your terminal. Make sure to replace yourdomainname.com with your personal site name. For more configurations, you can read the official documentation.
ee site create yourdomainname.com --wp
Over here ee is the shorthand for easyengine.
Once this code starts executing, you will see that MySQL, Nginx, PHP are being installed automatically. Everything will be configured automatically. Your database will be created and all the required details will be added automatically to wp-config file so that you don’t need to do it.
Once the installation is complete you can access all the files by moving to /htdocs directory. This directory will contain your wp-content, wp-include, wp-admin and other folders and files. Your wp-config file will be available in the /var/www/yourdomainname.com directory.
In case you want to edit the configuration file then you can do so by using nano wp-config.php command.
Step 3: Let’s Make Your Site Fast, Insanely Fast
Now we will enable FastCGI page cache. This method of page caching is used on sites with heavy traffic, to keep their server cool and their servers fast.
We will also enable HHVM, which uses JIT ( just in time ) compilation to convert your PHP code into c code. C programs run faster and thus your website will also load faster.
ee site update yourdomainname.com --wp --wpfc
This command performs 2 essential task. 1st it sets Nginx to use FastCGI page cache and 2nd it automatically installs and configures w3total cache for best performance.
Now let’s enable the HHVM. But before you get carried away by such fascinating terms, let me make it clear that sometimes HHVM stops working as it is still in beta stage.
ee site update yourdomainname.com --hhvm=on
If you want to disable the HHVM later, then you will need just to type in the following command.
ee site update yourdomainname.com --hhvm=off
So now you have fully configured the web server to run wordpress with maximum speed. You can compare your website performance, and you will seriously find some 2x to 3x speed difference.
Furthermore, you can read easyengine commands to customize your wordpress installing on digitalocean.
Step 4: Let’s Add Letsencrypt SSL
It’s quite necessary to add SSL to your website as Google Chrome is showing the “Not Secured” message on the address bar for all the website which doesn’t have SSL enabled.
If you are thinking this steps would be the most difficult step, then you are completely wrong. In fact, it’s the simplest step. All you need to do is to copy, edit and paste the command provided below in your terminal. Just make sure to replace the yourdomain.com with your site’s domain name.
ee site update yourdomain.com --letsencrypt
After pasting the code on terminal press enter. Now wait for few seconds, and you will see a warning message. The message will say that letsencrypt is in the experimental phase. You don’t need to worry about that warning as millions of websites including this site is using it. So just press “Y”. Now it will take another few seconds to complete the installation. And once it’s done you can you can visit your website, and you will notice it is getting automatically redirected to “HTTPS”.

Leave a Reply